Set up Projectify with Claude. Six steps, then you are working.
Sign up, connect the Claude you already use, link your repo and your team, then choose how you ask Claude to use the board. Every step shows the real screen.
Free for up to 3 peopleNo card, no passwordsClaude Code, claude.ai and Claude Desktop
How it fits together
You ask Claude. Claude works the board.
Projectify sits between your Claude and your team's work. Claude reads the project first, claims what it takes and tells everyone what it did.
You
Ask in plain words
"What's next?" "Plan the checkout redesign." "Wrap up."
a prompt
Claude
Code, claude.ai, Desktop
Each one connects once and acts as you, under its own name.
MCP tools
Projectify
Tasks, claims, docs
The briefing, one queue, leases so nobody collides, rooms and handoffs.
sync
Your team
Board and people
The Projectify board, or Monday, Trello and Azure DevOps. Everyone sees who did what.
back to Claude: the briefing, the next task, answers and handoffs
Step 1
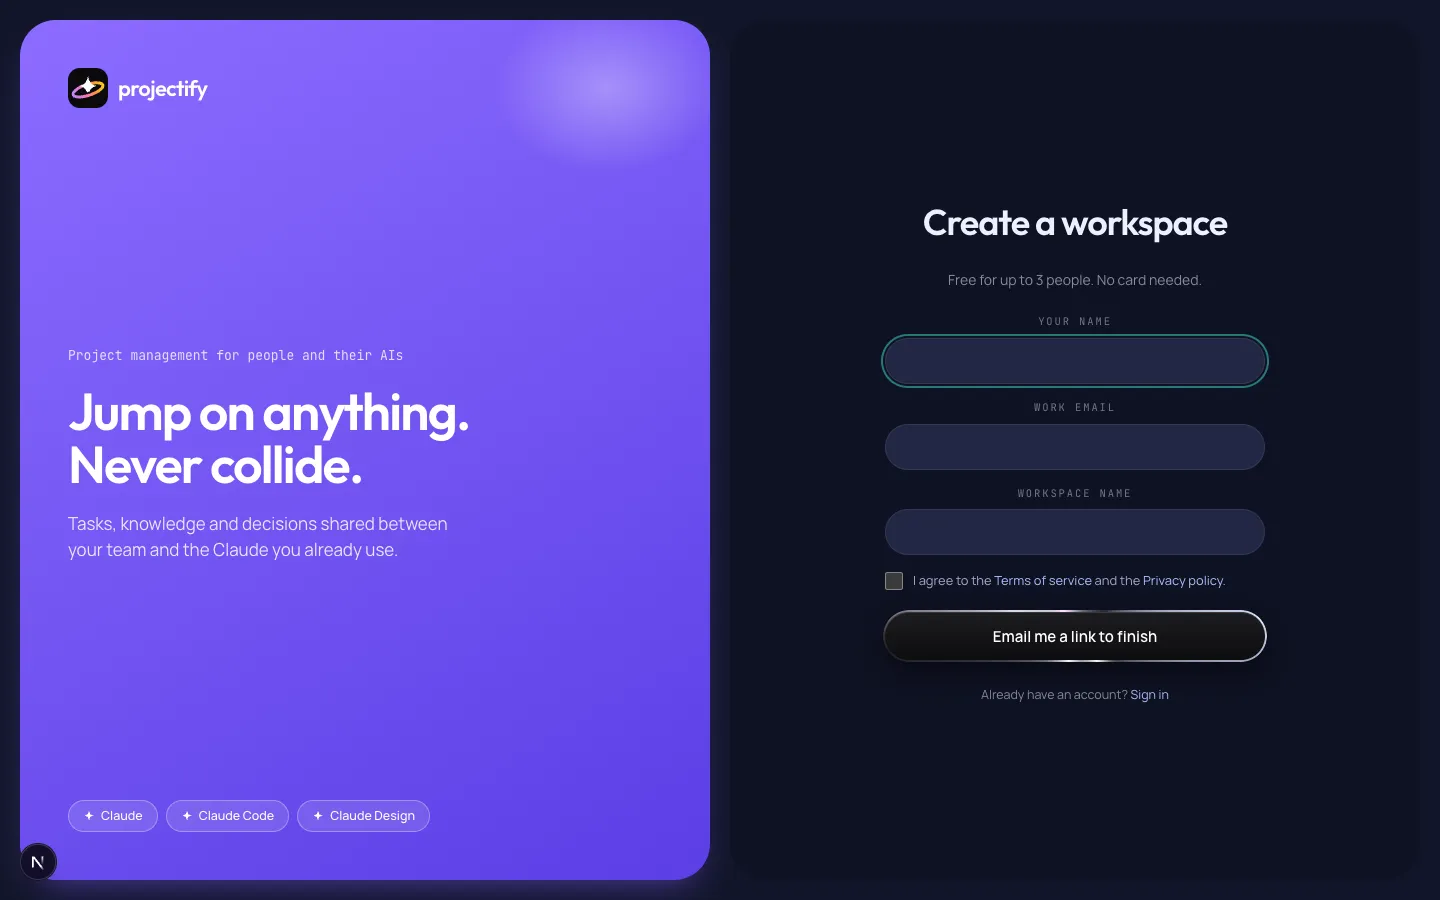
Sign up and create your workspace.
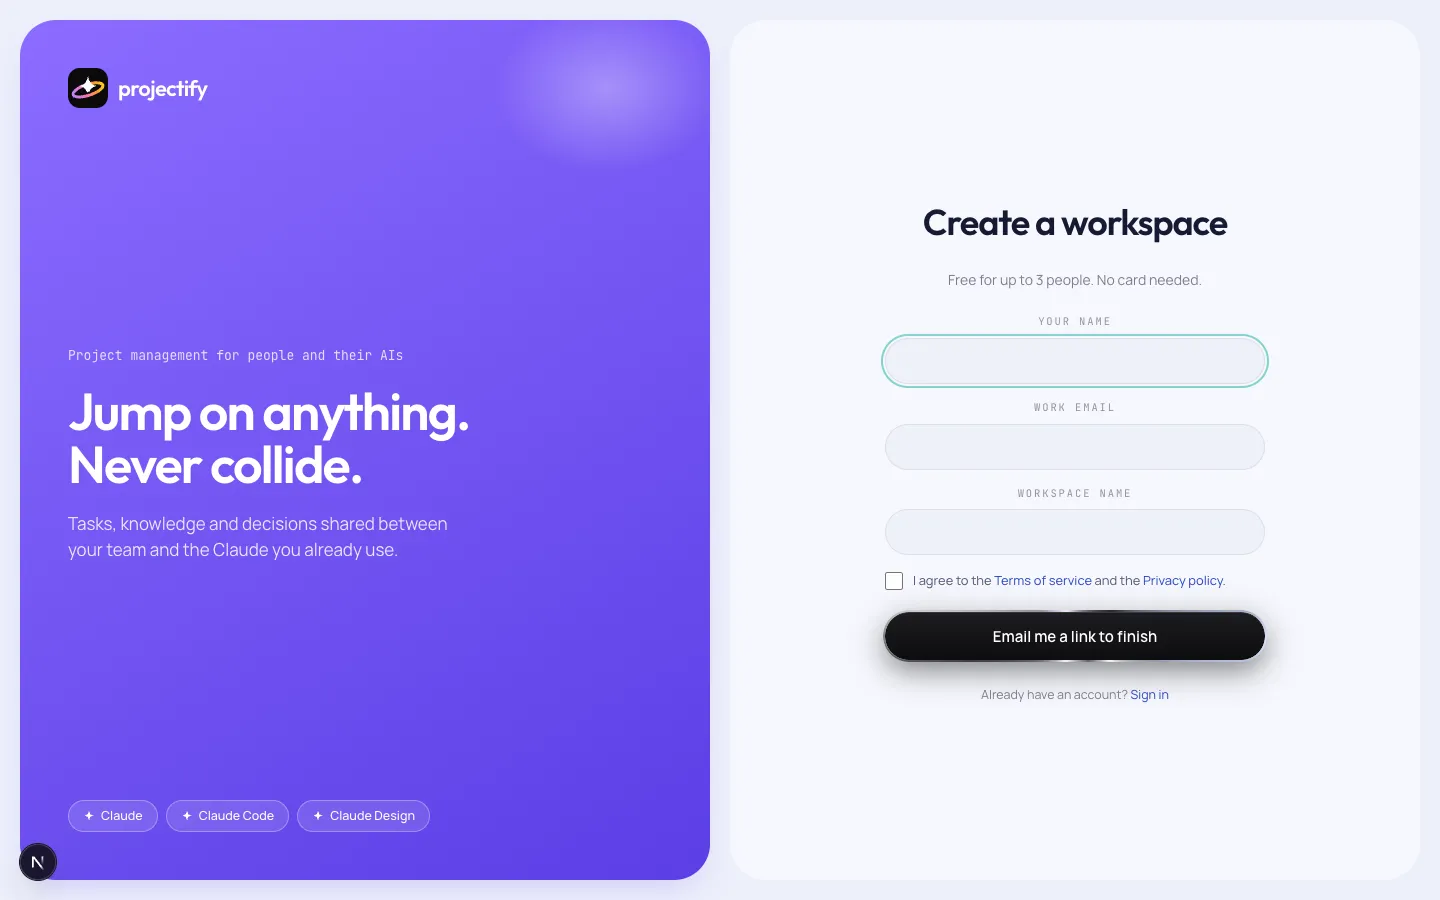
Enter your name, your email and a name for the workspace. We email you a sign-in link: there is no password to set. The workspace is your team, free for up to 3 people. You land on Welcome, which walks you through the rest.
Sign up: name, email, workspace. The link in the email signs you in.Step 2
Connect Claude.
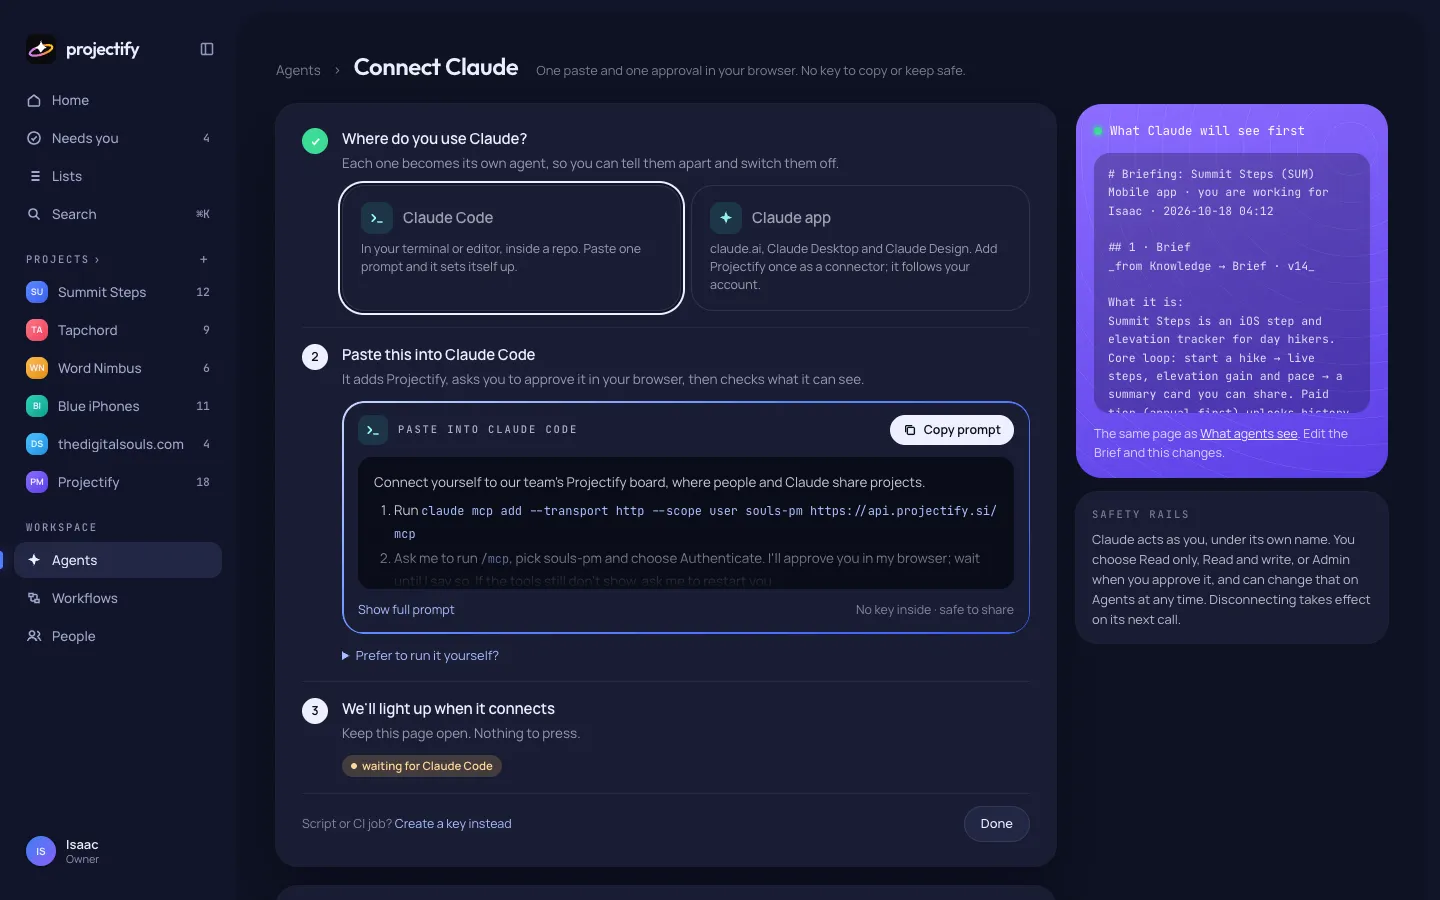
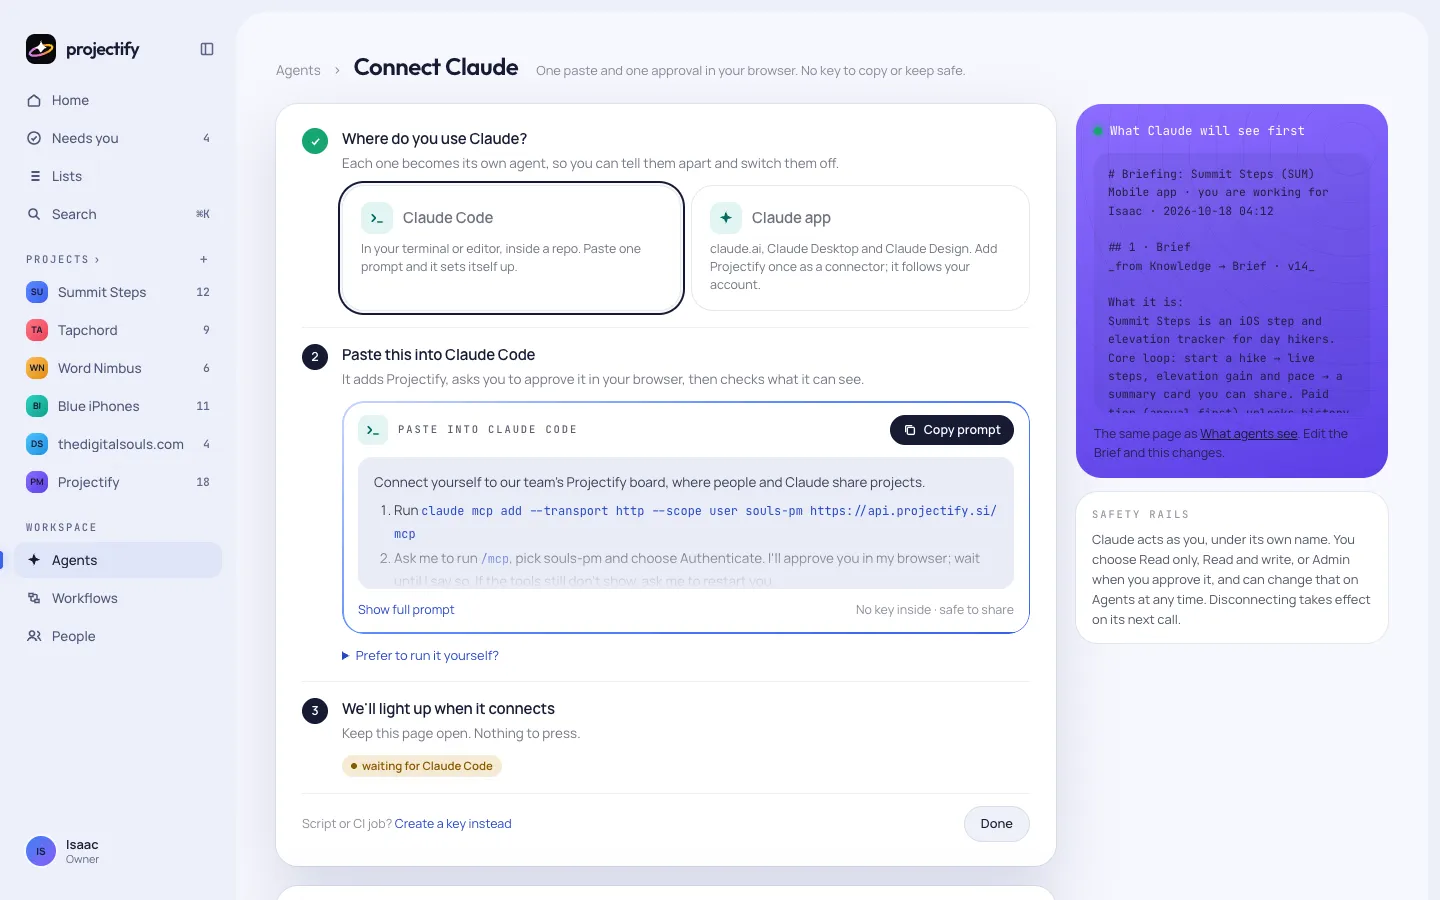
Open Agents › Connect Claude in the app, or follow the path for the Claude you use. You approve each one once in your browser. No key to copy.
Claude Code · the plugin
Recommended
Adds the tools, a start-up hook that opens the right project, and the Projectify skills. Run both lines in Claude Code.
Connectors follow your account: add Projectify once on claude.ai and Desktop has it too. Turn it on from the tools menu in a chat. If the tools don't show, quit and reopen Desktop.
Connect Claude lights up when your Claude makes its first call.Step 3
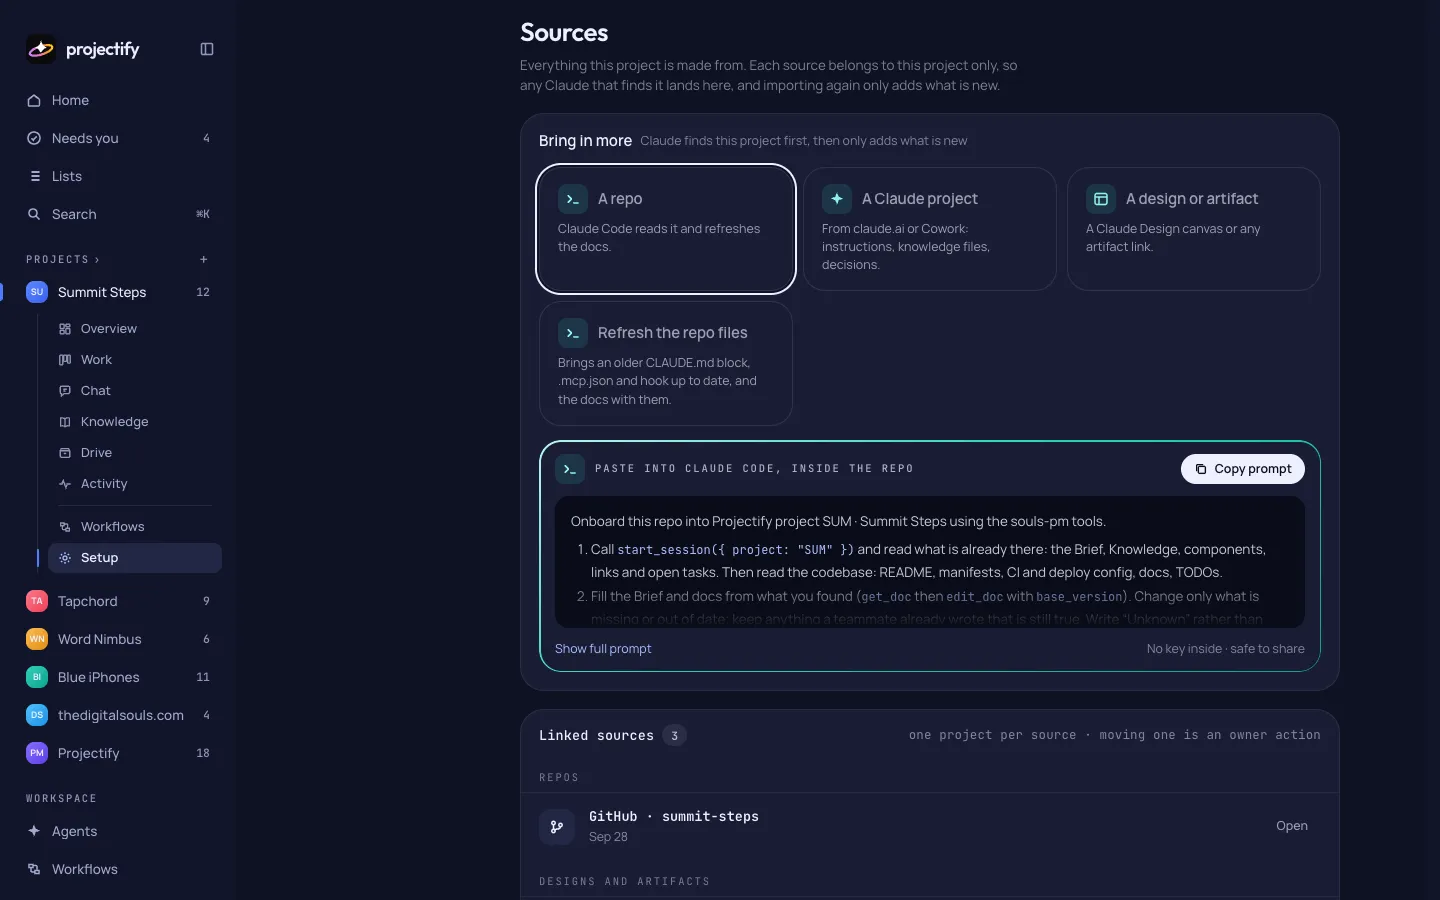
Link your repo and boards.
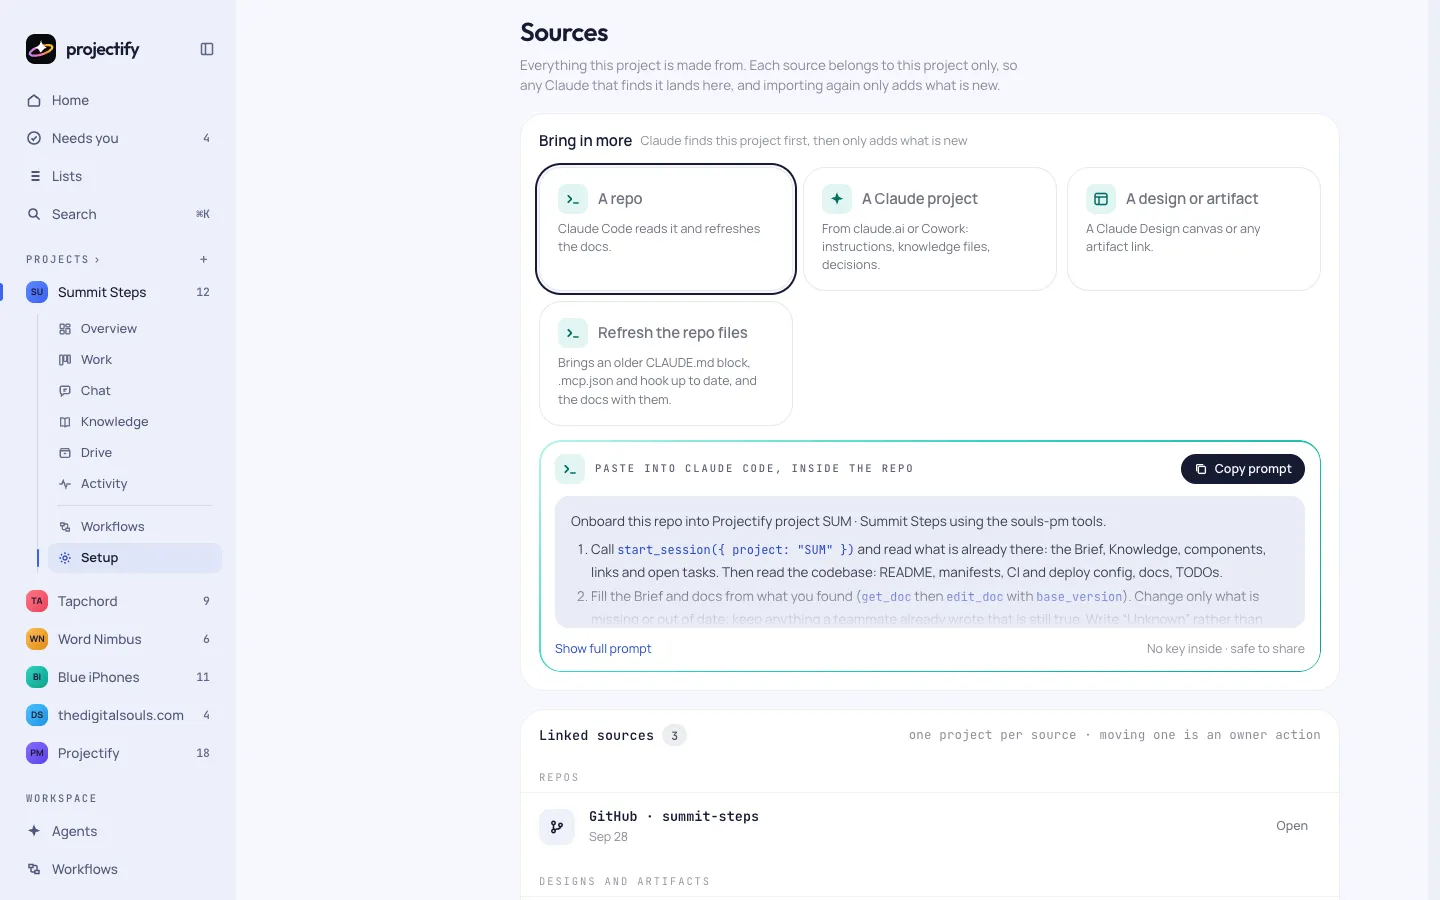
Each project is made from sources: a GitHub repo, a claude.ai project, designs and domains. The quickest way is to open the repo in Claude Code and say "onboard this repo to Projectify": Claude matches the git remote, writes the Brief and a starter backlog, and you approve them. You can also add sources by hand in Setup › Sources.
Work planned on Monday, Trello or Azure DevOps? Paste the board link in Setup › External boards. Every session syncs it first.
Setup › Sources: everything the project is made from.Step 4
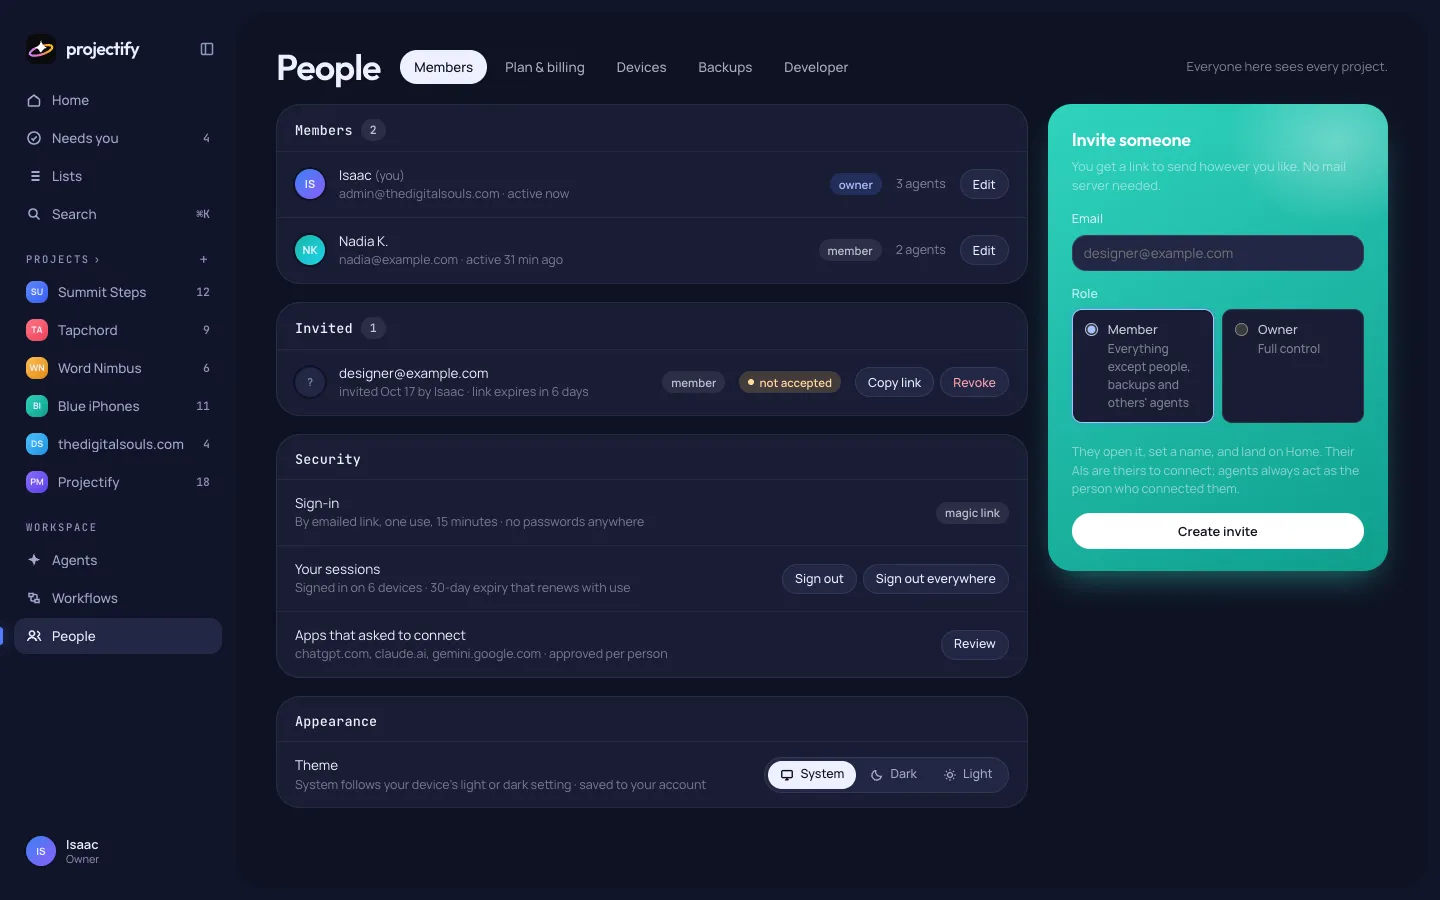
Invite your team.
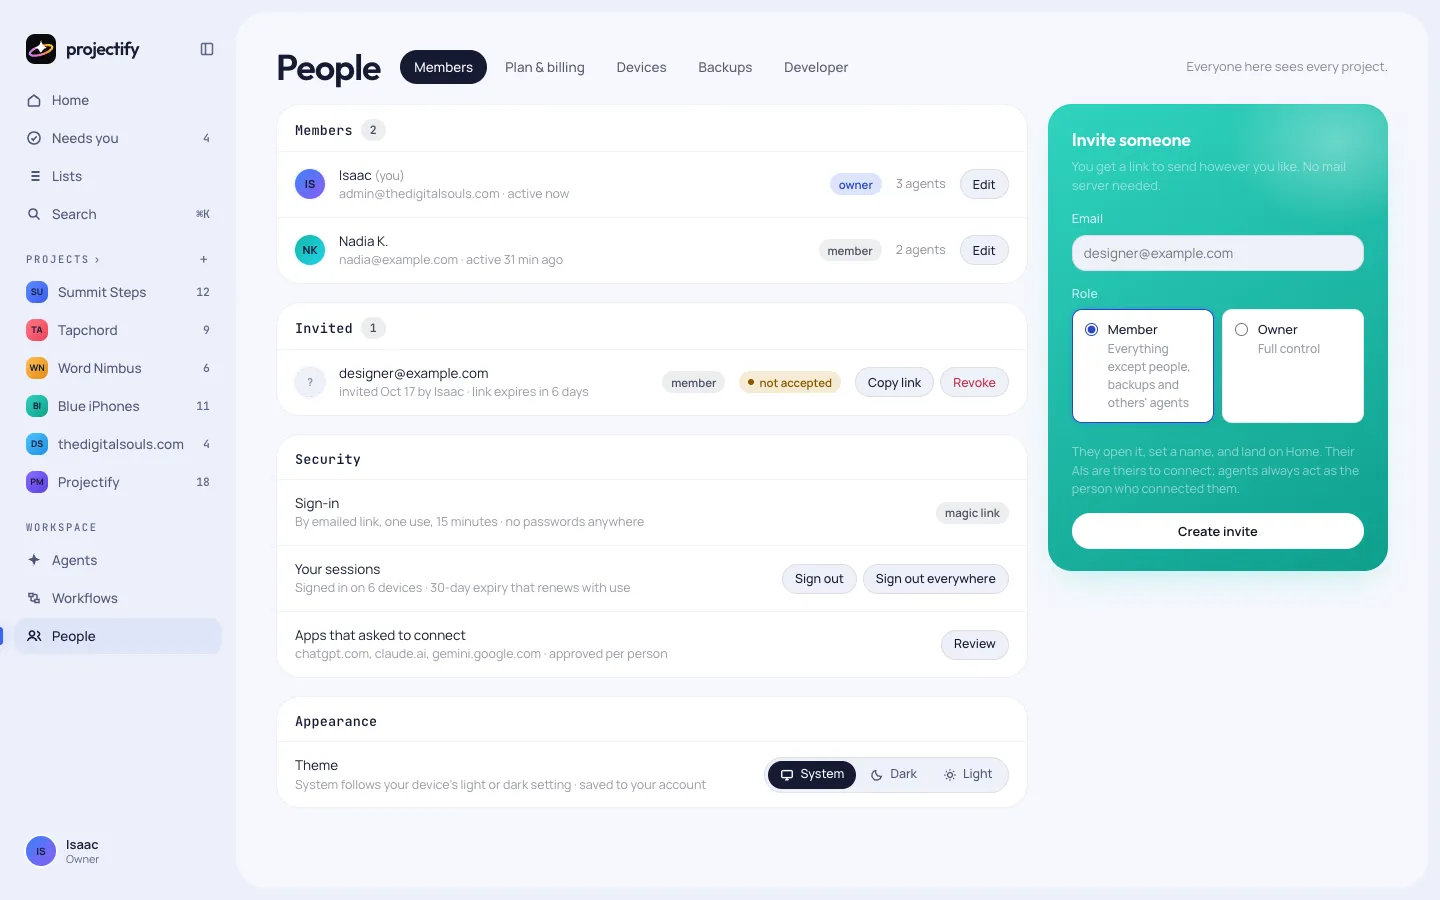
In People › Members, choose Invite and send the link. Each person connects their own Claude, so every change says who made it and for whom: "Claude for Maya". Owners and admins manage members; the free plan covers 3 people.
People › Members: invite by link.Step 5
Ways to use it in Claude, most reliable first.
Claude only uses Projectify when something tells it to. These are the ways, from the one Claude follows every time to the ones it can miss.
a
The Projectify skill
The plugin installs it in Claude Code; on claude.ai you upload projectify.zip. Claude loads it whenever the board comes up and follows the steps: brief, claim, ask, hand off.
try › pick up the next Projectify task
Most reliable
b
Say "using Projectify, …"
Naming it in your prompt makes Claude reach for the tools, with or without the skill.
try › using Projectify, plan the onboarding redesign
Reliable
c
Repo files and hooks (Claude Code)
Commit the CLAUDE.md block and the session hook from Setup › Repo files. Every session in that repo, on that machine, starts briefed without you asking.
Automatic
d
Project instructions and Always lines
A claude.ai project's instructions and your workspace's Always lines guide Claude, but in a long chat it can miss them. Use them with a or b, not instead.
Less reliable
e
Fleet for Claude Code
Your terminal runs workers that pick up tasks while you approve from the app. Nothing runs until you start it.
Optional · coming soon
Step 6
What Claude can do on the board.
Ask in plain words. These are the jobs Claude does with Projectify, and what you see when it does.
Job
Say
What happens
Plan work
"Plan the checkout redesign"
Claude says what it understood, sizes it, asks at each gate, then creates a task or an epic.
Pick the next task
"What's next?"
Start next hands it the top free task, and a claim keeps everyone else off it.
Ask you
"Ask me before you choose"
The question lands on your Questions page with a recommended answer. The task waits.
Talk to other chats
"Tell the room"
A line in the project's room when it starts, before a shared change, when blocked and when done.
Keep the docs
"Record that decision"
Decisions, the Brief and Notes, versioned and signed "Claude for you".
Sync a board
"Sync the Trello board"
Reads the client's board first and brings the tasks in.
Hand off
"Wrap up"
A handoff: done, unfinished, next. The next session starts from it.